Showing posts with label Art and Craft. Show all posts

Tuesday, 14 February 2012

DIY: Valentines Day Charms


Image source: I Fluently Speak Fashion
Happy Valentine's Day everyone! Just thought I'd like to share a DIY that a friend of mine made as gifts to her Valentine(s) - it was just so sweet. Apologies in advanced that the steps are a tad confusing, and the pictures of low quality - does anyone want to guess where I took the photos? 
You will need:
- Coloured Felt
- Ribbon
- Needle and thread
- Scissors
- Cotton Stuffing
Start by cutting out two pieces of felt into heart shapes. If you want, you can embroider the name of your Valentine onto the surface of one, or both sides of the heart.
Cut out 10 cm of ribbon, fold it in half and sew the ribbon onto one surface of the heart. Once this is done, place the hearts back-to-back and blanket stitch them together, stopping halfway to add a desired amount of stuffing (until plump). Then finish off the stitching and you are done!
How very lucky these people were. A special mention to Jess for letting me "observe" you making these.
Once again, Happy Valentine's Day. xx

Thursday, 29 September 2011

DIY: Floppy Disk Penholder

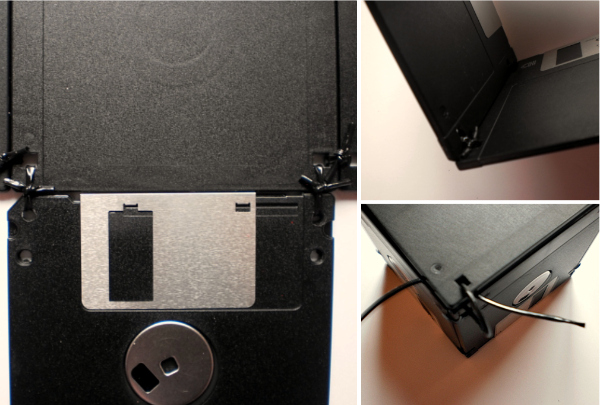
So I had a lot of floppy disks lying around at home, and recently discovered a way of recycling them from Domestic Geek. Result - a floppy disk penholder.
You'll need: 5 old Floppy Discs, Scoubidous (or string/cable ties/etc.) and a whole lot of patience
Drill two holes, one on either side of the discs (there are already marked dents in the disc). Pick out your base (i.e. the disc you want to be the base of your pen holder) and drill two extra holes towards the top corners.
Lay the four discs out, tying them all together (once at the top, and once at the bottom) for each side.
*Note that the bottom corners already have these slots that you can slide down
Tie the "base" disc onto the bottom of one of the four discs. Then, bend the four "side" discs and tie them together (this is when you need patience) - after all this is done, tie the other corners of the base disc onto the corners of the side discs.
Add absolutely anything you want - and you are done!
My greatest apologies if the instructions are a bit confusing (...okay, maybe a lot), but you can head over to Instructables for a more detailed step-by-step guide. Good luck!! xx

Thursday, 15 September 2011

DIY: Popsicle Box

A simple lady-bug popsicle box I made. 


So I know this is really simple, and so many people have done this before - I remember first making one in kinder for Father's Day - but I really wanted to make one again (talk about reliving out old memories).

So here's what you'll need:
A few popsicles, PVA Wood Glue, and whatever decoration you want.
And not really a tutorial, but here's a GIF (I was playing around):

Have fun, and see y'all very soon. xx

Monday, 29 August 2011

DIY: Decorated Jar

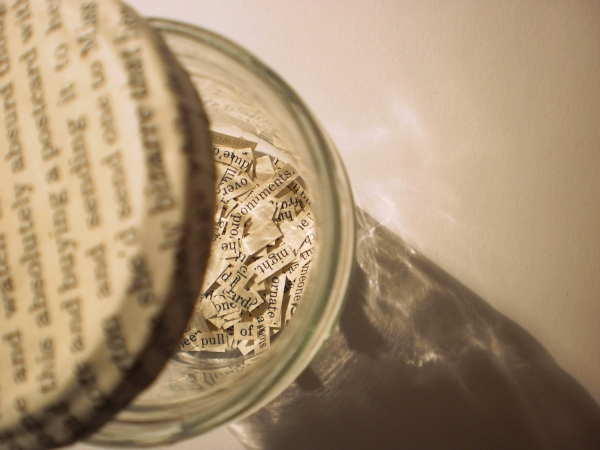
You'll need: A glass jar with lid, Scraps of paper, Clag Glue (reminds me of Kindy), Scissors, Pencil
Trace the lid onto your chosen paper and sketch another circle with a radius 2-3cm larger than the original circle. After pasting the design onto the lid, snip lines into the paper.
Glue and fold the looses of paper under the lid and leave to dry.
I used the leftover scraps of paper to cut out random words (to fill the jar for the time being)
 Good luck! xx